Frequent and compulsory vendor screening is a mandatory response for compliance officers within the organization. However, when the screening shows the result of a “green” vendor suddenly turning “red”, it brings chaos and anxiety in compliance officers. The monthly reports hit hard, which have a potential match with a vendor. Although prevention is the organization’s primary goal in avoiding such vendors, vendor exclusions are still a reality. It is highly likely that, within 29 days of each compliance screening gap, the vendor will be added to the exclusion list. That’s why the mandate screening should be done every single month without skipping.
As the detection of excluded entities by vendor screening is a reality, taking action becomes mandatory due to the concerning risk of inaction. As with each claim, the charged Civil Monetary Penalty (CMP) can reach up to $ 20,000. Additionally, it can result in False Claims Act liability and reputational damage to your healthcare organization. Therefore, this guide serves as a checklist for the “Code Red” to help you navigate the transition from detecting an excluded entity to resolution without incurring penalties.
Phase 1: Immediate Actions After Detection | Diagnose & Investigation
The detection of a current vendor as the excluded is not the time for panic, but for following protocol and taking serious actions. Strategic action can help you avoid imposed monetary penalties and ensure timeliness if immediate action is required. In phase 1, here are the steps you should take to encounter this problem.
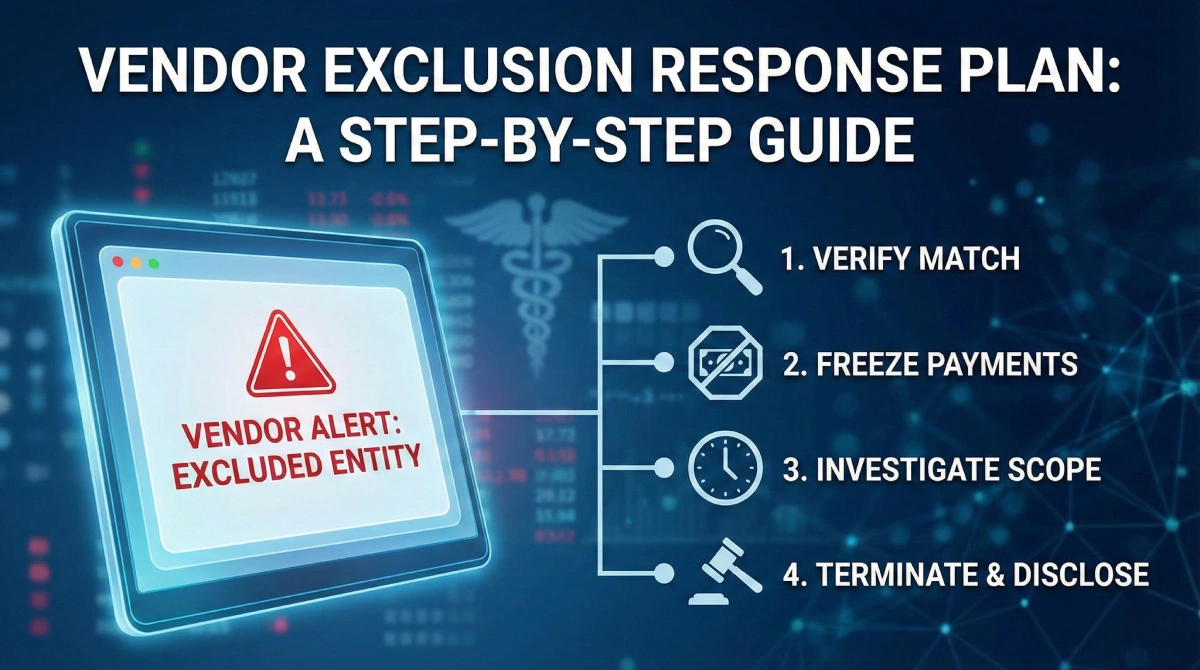
Step 1: Verify the Match
First, after your compliance OIG screening check detects a match, it is crucial to verify the identity and confirm the match is accurate. Sometimes the name match can be a false positive. Therefore, it is vital to conduct a thorough check using unique identity identifiers such as TIN, SSN, NPI, and address. All these need to be checked against OIG LEIE, SAM.gov, or the state Medicaid list.
If a false positive occurs after matching the information provided above, you can stop and rest assured. However, if the match is confirmed, proceed to the next step.
Step 2: Isolate and Suspect Payments
If the suspect is confirmed to be working with or involved in your healthcare organization, stop the payment. The monetary charges claim can be applied to payments made to the excluded entity using federal healthcare program funds. Therefore, immediately informing the accounts payable department to freeze all the pending invoices and payments to the vendor is the right choice. Even during the investigation, no federal funds are supposed to flow to them until they are cleared.
Step 3: Define the scope of Exposure
After freezing payments, it is a smart choice to conduct a timeline audit to determine whether any payments were made to the excluded entity after the exclusion announcement. In this, determine the exact date of exclusion vs. the dates of services rendered and check accurately whether you paid after they were excluded.
- Total payments made during the exclusion period) x (Federal match percentage) = Potential overpayment liability
Phase 2: Resolution, Termination, and Disclosure Event
After following all the steps from the section above. Take immediate action upon OIG screening to block payments and calculate the charges imposed on you. It is now time to take action and determine how to proceed further to terminate the excluded entity and close this matter. Follow these steps now:
Step 4: Contact Termination Procedures
As a general rule, it is time to take action to execute the out clause, meaning to terminate the excluded entity, and it must be done professionally. Consulting legal counsel is the first step in this process, as most vendor contracts include a clause for immediate termination upon exclusion. With the help of that, send a formal notice of termination citing the specific exclusion database.
This will further support the later documentation of the immediate action taken upon identification. Therefore, it is crucial to take immediate action and send the legal notice only after consulting with your legal consultant.
Step 5: The Self-Disclosure Protocol (SDP)
At the next step, it’s time to own and accept the error made. In cases where payments are made to the excluded vendor, you cannot simply reverse or “fix it” internally. Therefore, you must use the OIG’s Self-Disclosure Protocol (SDP) and explain the mistake made in the gap period unknowingly. Doing this and explaining that you have taken immediate action upon identification usually results in lower multipliers for damages. These can be lower (typically 1.5x) than waiting for an audit.
Step 6: Documentation (Making of Defense File)
At last, you can document your immediate actions and make a defense file to show your immediate action to the federal government. In this, it is essential to include a screenshot of the exclusion result, internal emails regarding the freeze, the termination letter, and the overpayment calculator. Doing this will help you prove you have acted immediately upon discovery and will allow you to ease the charges imposed on healthcare organizations.
These are all the steps you need to take one by one upon the discovery of an excluded vendor working in your organization. Instead of panicking and risking being charged with certain monetary penalties.
Summing It Up!
Identification of an excluded vendor is not a limitation of an organization. Instead, it’s proof that your monitoring system is working. As the danger isn’t the exclusion itself, but rather a failure to act on it. Prompt vendor screening can reduce financial penalties and reputational damage. Therefore, it is a smart choice to automate this process and set a reminder, because even with daily actions, monthly checks are the regulatory minimum.
Ensure you use automated services like Venops to maintain and improve your response speed. Given the speed of responses, having a plan to act in such scenarios is essential for protecting large organizations. For fast, effective action during vendor screening, use this compliance manual. So you know what to do when a result hits positive. You can print and keep a guide like this with your compliance manual, so it is ready before the next screening cycle begins.
FAQs
Q 1. If a vendor is excluded in one state, can we still use them for services in a different state?
Ans: While the state exclusions are technically state-specific and vary by state. The Affordable Care Act (ACA) section 6501 implies that an exclusion in one state can trigger the termination in others. Therefore, most compliance experts recommend terminating the relationship with vendors excluded in any state to mitigate risk.
Q 2. How does Venops help us verify if a “hit” is a true match?
Ans: Unlike generic screeners that only provide a name match, Venops offers a comprehensive solution by combining automated exclusion, OIG screening, and sanctions screening with professional clearance investigations. This enhanced process verifies identity, rules out false positives, and delivers fast, accurate results within an hour. So you stay compliant without disrupting business unnecessarily.
Q 3. What if the excluded part is a subcontractor of our vendor, not the vendor itself?
Ans: You are still liable. If your vendors use the federal funds to pay an excluded subcontractor, it comes back to you. This is why you must require your vendors to screen their own downstream employees and contractors.
Q 4. How quickly can Venops update us on new exclusions?
Ans: Venops is a fast platform that updates its exclusion databases in real time as new federal and state lists are published. Ensuring you’re never relying on outdated information that could be 30 days old.
Q 5. Does Venops also cover vendor and entity screening?
Ans: Yes. Venops includes affiliated entities and vendors at no additional cost, ensuring your compliance check extends to these entities and vendors.